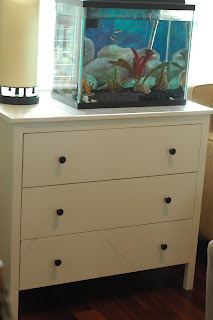
Here's how it all went down.
BEFORE:
My O'verlays arrived beatifully wrapped in this blue tissue. Can't wait to get started! :)
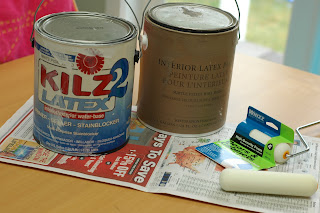
Here's my arsenal. Primer, paint and small roller brush.
I refreshed my furniture painting technique by looking here.
Just finished STEP ONE: primer.
STEP TWO: Paint
1/2 way there!
STEP THREE: Position and attach O'verlays
AFTER
And voila! I simply attached the O'verlays with the double stick tape they included and used a level to make sure I got them on straight. Very easy!
A fun upgrade don't you think?
A couple of thoughts on O'verlays. Love them! So easy to use and reasonably priced at less than $20 a panel. White on white looks fabulous, so you don't even need to paint if you're putting it on a white piece. Adding them on a mirrored surface would be oh so fabulous too.
Such an easy way to add instant graphic pop, and your own personality and character to an otherwise generic piece. I'd love to hear if you're inspired to do your own O'verlay makeover!


6 comments:
looks amazing...love overlays!
what an awesome makevoer- I just LOVE what the O'verlays do to simple dressers!
Love the color combo!! Great work...Cheryle
great makeover!
Hi there,
Could you give me your opinion please,
Thinking about using the Koppang as the base for a vanity and installing a sink in the top. Is the dresser strong enough? How stable is it?
Thanks!
Not the sport but rather this amazing ironwork fence I came across the other day in Georgetown. Who says artistry such as this is dead, the leaves look practically real!
fence for sale
Post a Comment